Title: Here is the magic weapon! Want to make the edges of the sealant as neat as a knife cut? Did you use the masking tape correctly?
Title: Here is the magic weapon! Want to make the edges of the sealant as neat as a knife cut? Did you use the masking tape correctly?
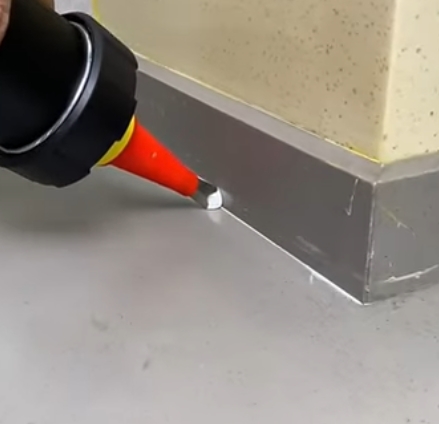
Want to get a perfect sealant effect with clear and sharp edges and neat as a knife cut? Masking tape (masking tape) is an indispensable auxiliary tool! It not only protects the substrate from contamination, but also effectively controls the width of the glue strip, greatly improving the final aesthetics.
Core skills: precise positioning, compacting the edges, and timely tearing
Choose the right masking tape:
Moderate viscosity: Choose a medium viscosity masking tape. If the viscosity is too low, it is easy to shift. If the viscosity is too high, it may damage the surface (especially paint, wallpaper, and some plastics) or leave residual glue when tearing.
Material and width: Commonly used paper or crepe paper masking tape with better temperature resistance. The width is selected according to the required glue strip width and construction area (commonly 1-2 inches/2.5-5 cm).
Precise pasting and positioning:
Clean and dry: The substrate surface of the pasting area must be clean and dry (same as the sealant construction requirements), otherwise the masking tape will not stick firmly.
Parallel gaps, precise positioning: Paste the masking tape parallel and straight on the substrate along both sides of the gap. The distance between the inner edges of the masking tape is the final width of the sealant you want. Make sure that the masking tape on both sides is completely parallel and the distance is consistent. This is the key to getting a neat edge! Press the edges hard, especially at the corners.
Gluing and trimming:
Apply sealant normally in the area where the masking tape is positioned.
Perform trimming and shaping (refer to article 3). When trimming, the scraper or fingers can be gently pressed on the masking tape as a support and boundary limit, which makes it easier to scrape out a flat surface and clear boundaries.
Remove the masking tape in time:
Golden time: The masking tape must be removed before the sealant dries to the surface (before it is dry to the touch)! This is the top priority! If you wait until the glue is dry before tearing it off, the smoothness of the edge of the glue strip will be damaged, causing burrs or tearing; in severe cases, the partially cured or semi-cured glue may be pulled up, destroying the bonding.
Technique: When tearing off, tear it off slowly from the top of the glue strip to the outside at a gentle angle close to 180 degrees (do not pull it vertically upward). Make sure that the edge of the glue strip is not pulled and deformed. Dispose of the torn masking tape in time and properly to avoid sticking to other places.
💡 Key point: The timing of tearing off is the lifeline! After applying glue and trimming, tear off the masking tape immediately while the glue has not started to cure on the surface (it still feels a little wet and sticky). Develop a habit: After applying a section of glue and trimming, tear off the masking tape of this section immediately, and then proceed to the next section. Procrastination is a taboo!

